5 steps to design thinking nirvana

I’m sure you’ve heard about design thinking – it’s a well-established framework, and more industries than ever are using it as an approach to evolving myriad processes, workflows, products, policies, etc. etc. In my last post, I described why design thinking is a useful tool and showed how it can be applied far beyond creative disciplines. In this article, I’ll take you through the five key steps in the process.
Step 1: Empathise
It’s quite modern talking about empathy in business. I saw a really excellent talk a couple of weeks ago from Lorraine Jeckells, a consultant whose sole job it is to help businesses incorporate empathy into their sales process. As a rule of thumb, anything you do in life that involves anyone else should start with empathy. Deep, right?
The Empathise step of the design thinking process provides an opportunity to set our assumptions aside and immerse ourselves in the context of the problem we’re attempting to address. A major part of this is identifying who the beneficiary of the solution is and whether we need to consider anyone who might lose out. This is also the point where we’d determine whether we need any experts to get involved in the process.

There are several approaches to take in order to elicit empathy in the context of the problem you think you need to solve, but the two good’uns are:
- Conducting face-to-face interviews to learn about how people are currently solving similar problems, and how they are currently working around them. This may also yield information that can help to inform whether the problem you think you need to solve is, in fact, the problem at hand. Interviews are also especially useful to obtain an account of the problems from those who encounter them. This provides some real detail and again helps to infer to the team that this story is representative of others too. Note the distinction between those who currently have the problem, and those who attempt to solve it – they may not be the same person.
- Creating empathy maps: These can be a great way to consolidate all of the valuable information gleaned from interviews, surveys or group or one-to-one engagement. Empathy maps capture what people do, say, think, and feel in the context of the problem. They really should be considered more than just a summary; they play an important role in showing relationship between experience and problems encountered and will be referred to by all stakeholders throughout the process.
Step 2: Define
In this step, the idea is to combine and review the output of step 1 in order to draw insights that will help the team create problem statements.
What’s a problem statement? Good question…
Problem statements are short statements that summarise problems in human-centred, simple terms. It’s best that they don’t involve metrics; for example “10% improvement in speed of service”, would be better presented as “help staff serve customers more quickly”.
Using the output of the empathy step as a starting point, think about specific questions that address those frustrations and challenges. One standard format is to begin with the phrase “how might we…?” followed by a particular pain point. For example, how might we make it faster for staff to serve customers? Once you have a substantial list of “How might we” questions, attempt to see if any of these are shared between different users, if there’s overlap, or if one problem statement “how might we” can be used to address another.
Step 3: Ideate (Imagine + Evaluate)
So this is the really fun bit! Hopefully, by now, the problem(s) to be solved is obvious and front and centre of everyone’s thoughts. The ideation stage is where the design thinking process flips from identifying the problem to developing a the solution. It’s good to start with broad solutions at first – don’t get hung up on concentrated issues, and don’t get bogged down trying to work on the detail – that will come in the latter stages of the process.
It’s equally important to get everyone involved and to present any solution, whether risky, ostensibly unworkable or otherwise foolish; all of these ideas are valuable and for the time being, and will hold equal value and respect. I’d add that it is very easy to alienate stakeholders at this stage of the process. Good facilitators will make this process energetic and rewarding.

Keep in mind, that the next step is prototyping, and the step after that is testing, so if an idea is totally nuts (in a bad way), it will be eliminated before the end of the process. Such ideas should be preserved for now though. Even if they seem a bit ridiculous, they can inspire others to think of something valuable.
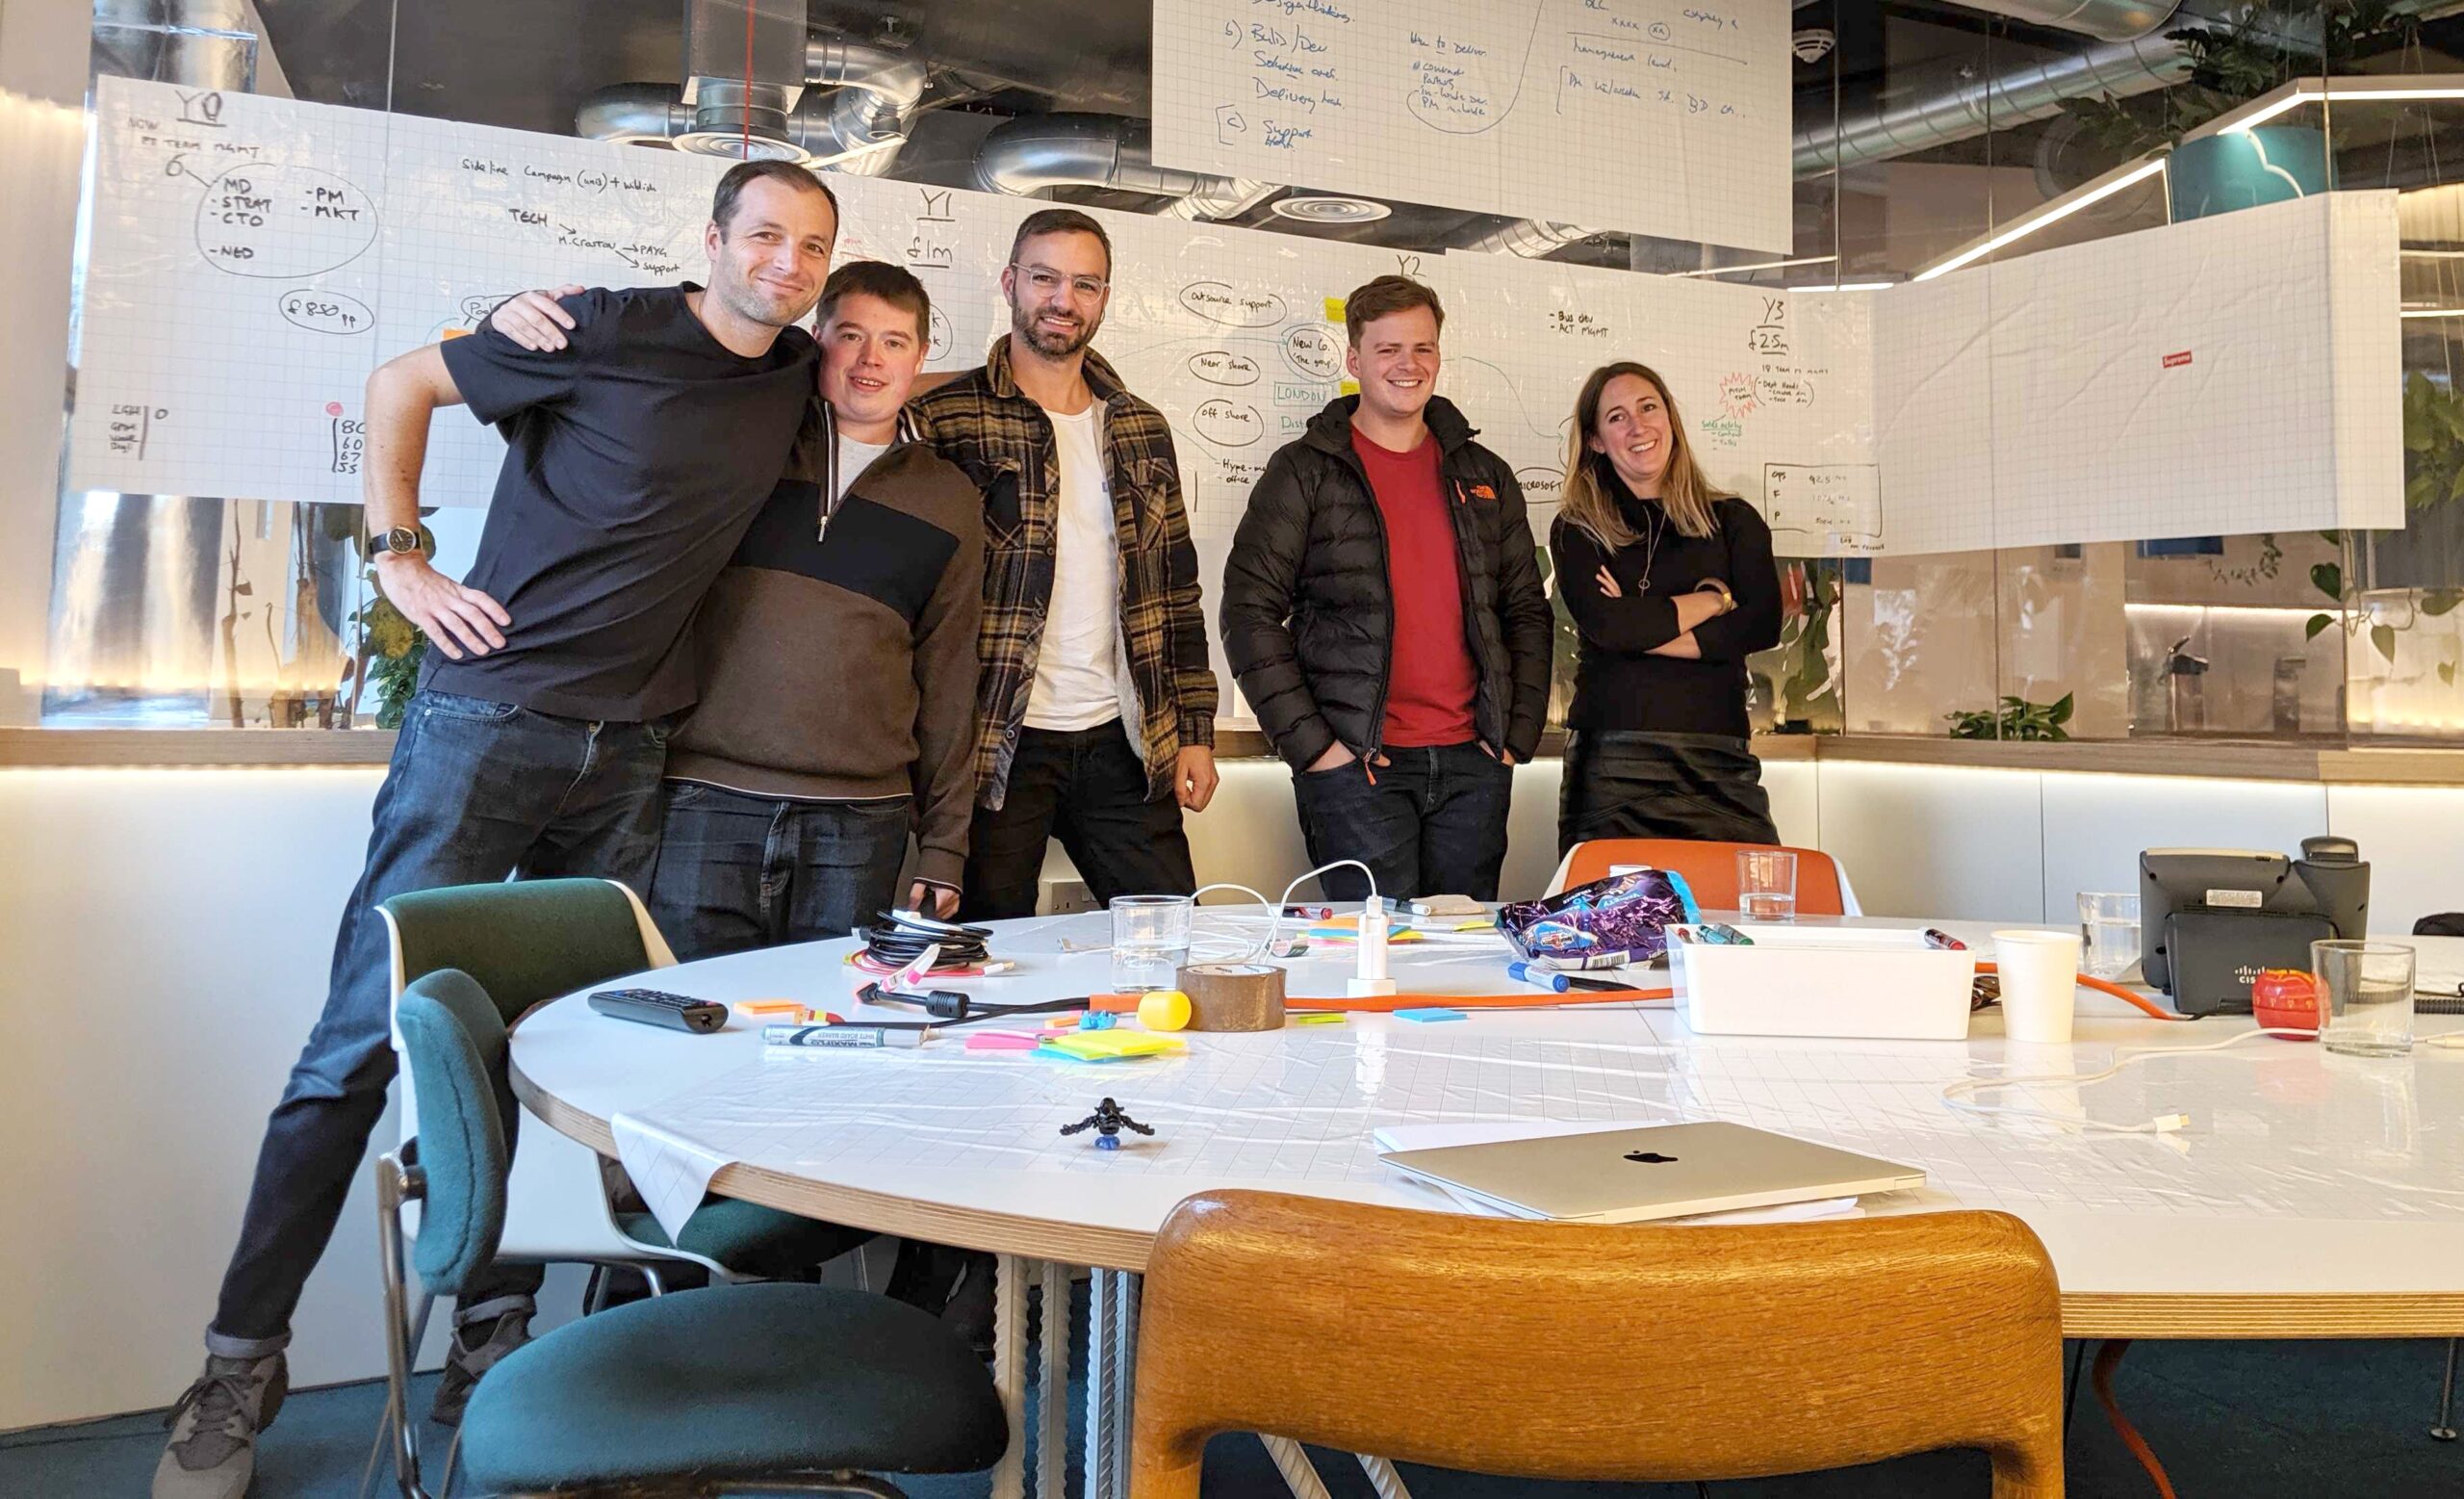
When inviting the team to explore ideas, arm everyone with pens, post-its and paper. We also use these neat, stick-on, roll up whiteboard sheets, which allow you to create vast areas of writing space for everyone to scrawl on.
After ideas are collected, move into the evaluation phase. This is where you can go around the room and discuss the ideas presented to get clarification if needed. One method to quickly evaluate ideas is the dot vote approach. Each person is provided with a limited number of dot stickers that they place on the idea they think is worth pursuing. The top idea or ideas with the most votes (dots) move into the next step to be prototyped.
Step 4: Prototyping
Prototyping allows you to get ideas into physical form to gain feedback from the people they are intended to serve through user testing. The goal is to start with a low fidelity version of the intended solution and improve it over time based on feedback. Beginning with a paper prototype can help you learn quickly with minimal effort. At this stage, it’s often a good idea to work through the prototype internally to ensure that any significant gaps are identified before the prototype is tested with it’s intended audience in step five.
The prototype should be a realistic representation of the solution that allows you to gain an understanding of what works and doesn’t work. It is changed and updated based on feedback from the Test phase in an iterative cycle. The low-cost, lightweight nature of prototyping also allows you to develop multiple solutions to test in tandem, allowing a team to identify the best possible solution for meeting those unmet user needs.
Step 5: Test
Think of the test step as an extension of the empathy process. The prototype serves as a conversation starter to gain an even more in-depth understanding of the pain points a user experiences in the context of the problem being solved. We put the prototype in front of people who might use it one day to get feedback on whether or not it solves their problem.
Now’s the time to revisit the project’s problem statement(s), and make sure the end solution is meeting those needs and resolving frustrations. By testing, we’re seeking to learn if we’ve made an impact on the way someone feels about the problem at hand. Have we improved upon what already exists? Is our solution compelling enough to change someone’s behaviours?
Test your prototype with users to get feedback and refine your ideas.

As feedback comes in, prototypes are iterated upon and then reintroduced to people for more feedback. Adopting an open mind is essential in this stage. The Stanford d.school design thinking guide encourages practitioners to, “Prototype as if you know you’re right, but test as if you know you’re wrong.”
That can mean being prepared to start over if the prototyped solution does not adequately address the problem. Indeed, testing may even reveal the issue was framed incorrectly from the very beginning of the project.
If you end up in this situation, don’t despair! The goal of the design thinking process is to quickly validate a solution to a problem, so while finding out you’ve been charging down the wrong path can be dispiriting, better to find out now than once a full build process has started.
In fact, if you do find yourself going back to the drawing board after a few rounds of prototyping and feedback, it’s a pretty good sign that the process is working as it should. In my experience, projects that are open (and brave) enough to truly buy into the process and understand negative user feedback have a higher likelihood of creating a successful product or service in the long run.